Fast and Affordable Jewelry With Nail Polish and Bezel Pendant Blanks
Jewelry can be so expensive. Why not make your own (or spruce up the jewelry you already have)? The process is so simple, fun and perfect for ages 6-100 years old. Join me on a fun exploration on How to make nail polish jewelry with glass cabochons and bezel pendant blanks.
Using nail polish for jewelry is a inexpensive and easy way to add style to your project. You can create rings, bracelets, necklaces, key chains, purse ornaments, and bookmarks in custom designs and colors of your choosing.
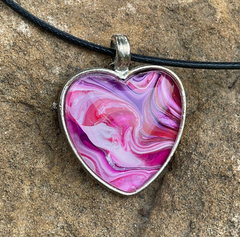
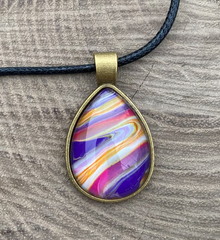
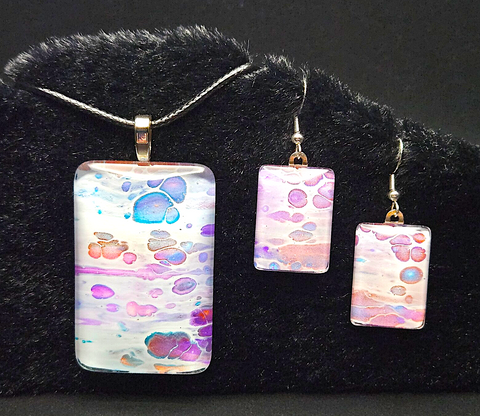
These jewelry pieces are made by painting the flat side of a clear glass cabochon with nail polish in different colors. The result is a beautiful "stone" that looks as if it has a beautiful glow from within and many compliments for you.
Supplies needed
- Clear Glass Cabochon Stones: We offer these crystal clear cabochons in many shapes and sizes.
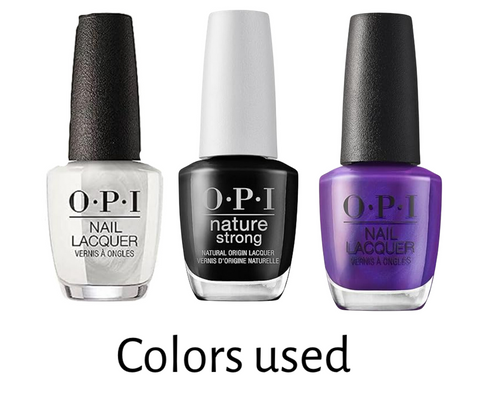
- Nail Polish: I highly suggest starting with 3 colors. One darker color, one white or silver, and the last one a complementary color that will go well with the 1st color. My favorite colors to work with are metallics, pearlized, whites, and fun bold colors . If using crackle nail polish you will want to use the black crackle polish to give the stone a "mirror" finish.

- Clear Lacquer Nail Polish: Any kind will do.
- Toothpick to make patterns on the glass cabochons.
- Optional - Fine glitter can be used.
- Nail polish remover: Used to touch up any mistakes.
- Bezel Pendant Blanks / Findings: . Findings are the actual jewelry blank setting in which you will place your stone such as a ring, necklace pendant, bracelet, or key ring. We carry a HUGE variety of bezel pendant blanks, earring making settings, key rings, charm bracelets and much more. All our jewelry making findings are the highest quality, and perfect for projects like these.
- Tape to hold gem in place while you are apply the nail polish.
- Paper Towel
1. Cover your work area with paper towel. Fold a piece of tape around your finger so it is sticky on all sides.
2. Place the clear cabochon stone onto the tape so it stays in place as you paint it. Make sure the flat side is facing up. This is the side of the stone that will be painted.
3. Coat the flat side of the cabochon stone with an even thin coat of clear nail polish. Allow the polish to dry for at least ten minutes. If you are using crackle nail polish on your stone, you must coat it first with clear polish. Crackle polish activates when it is used on nail polish,
4. Coat the stone with your favorite shades of crackle polish in any design you desire. Or you can use any other nail polish colors.
- Experiment with making patterns with your toothpicks. This will be the design that shows through your jewelry. Don't worry if you don't like how it looks you can wipe it off and start over (Sparkle nail polish looks really pretty!)
5. Let the design dry completely. Allow extra drying time for thick paint.
6. Coat the back of the stone with black nail polish. This will help your design to show through and give the stone a mirror effect from the top. This will also prevent the glue from showing through once you glue it to the finding. Allow this coat to dry.
7. When you are certain the nail polish is dry and hardened, glue the cabochon stone to the finding. I use e6000 glue to adhere my finished piece into the Bezel Pendant Blanks or to attach a glue on necklace or earring bail. Allow the glue to dry before wearing your new jewelry.
A Great DIY Gift Idea!
Your Beautifully finished pieces will make great gifts for yourself or someone special.
I hope you truly enjoy this new, fun and highly addictive craft!


